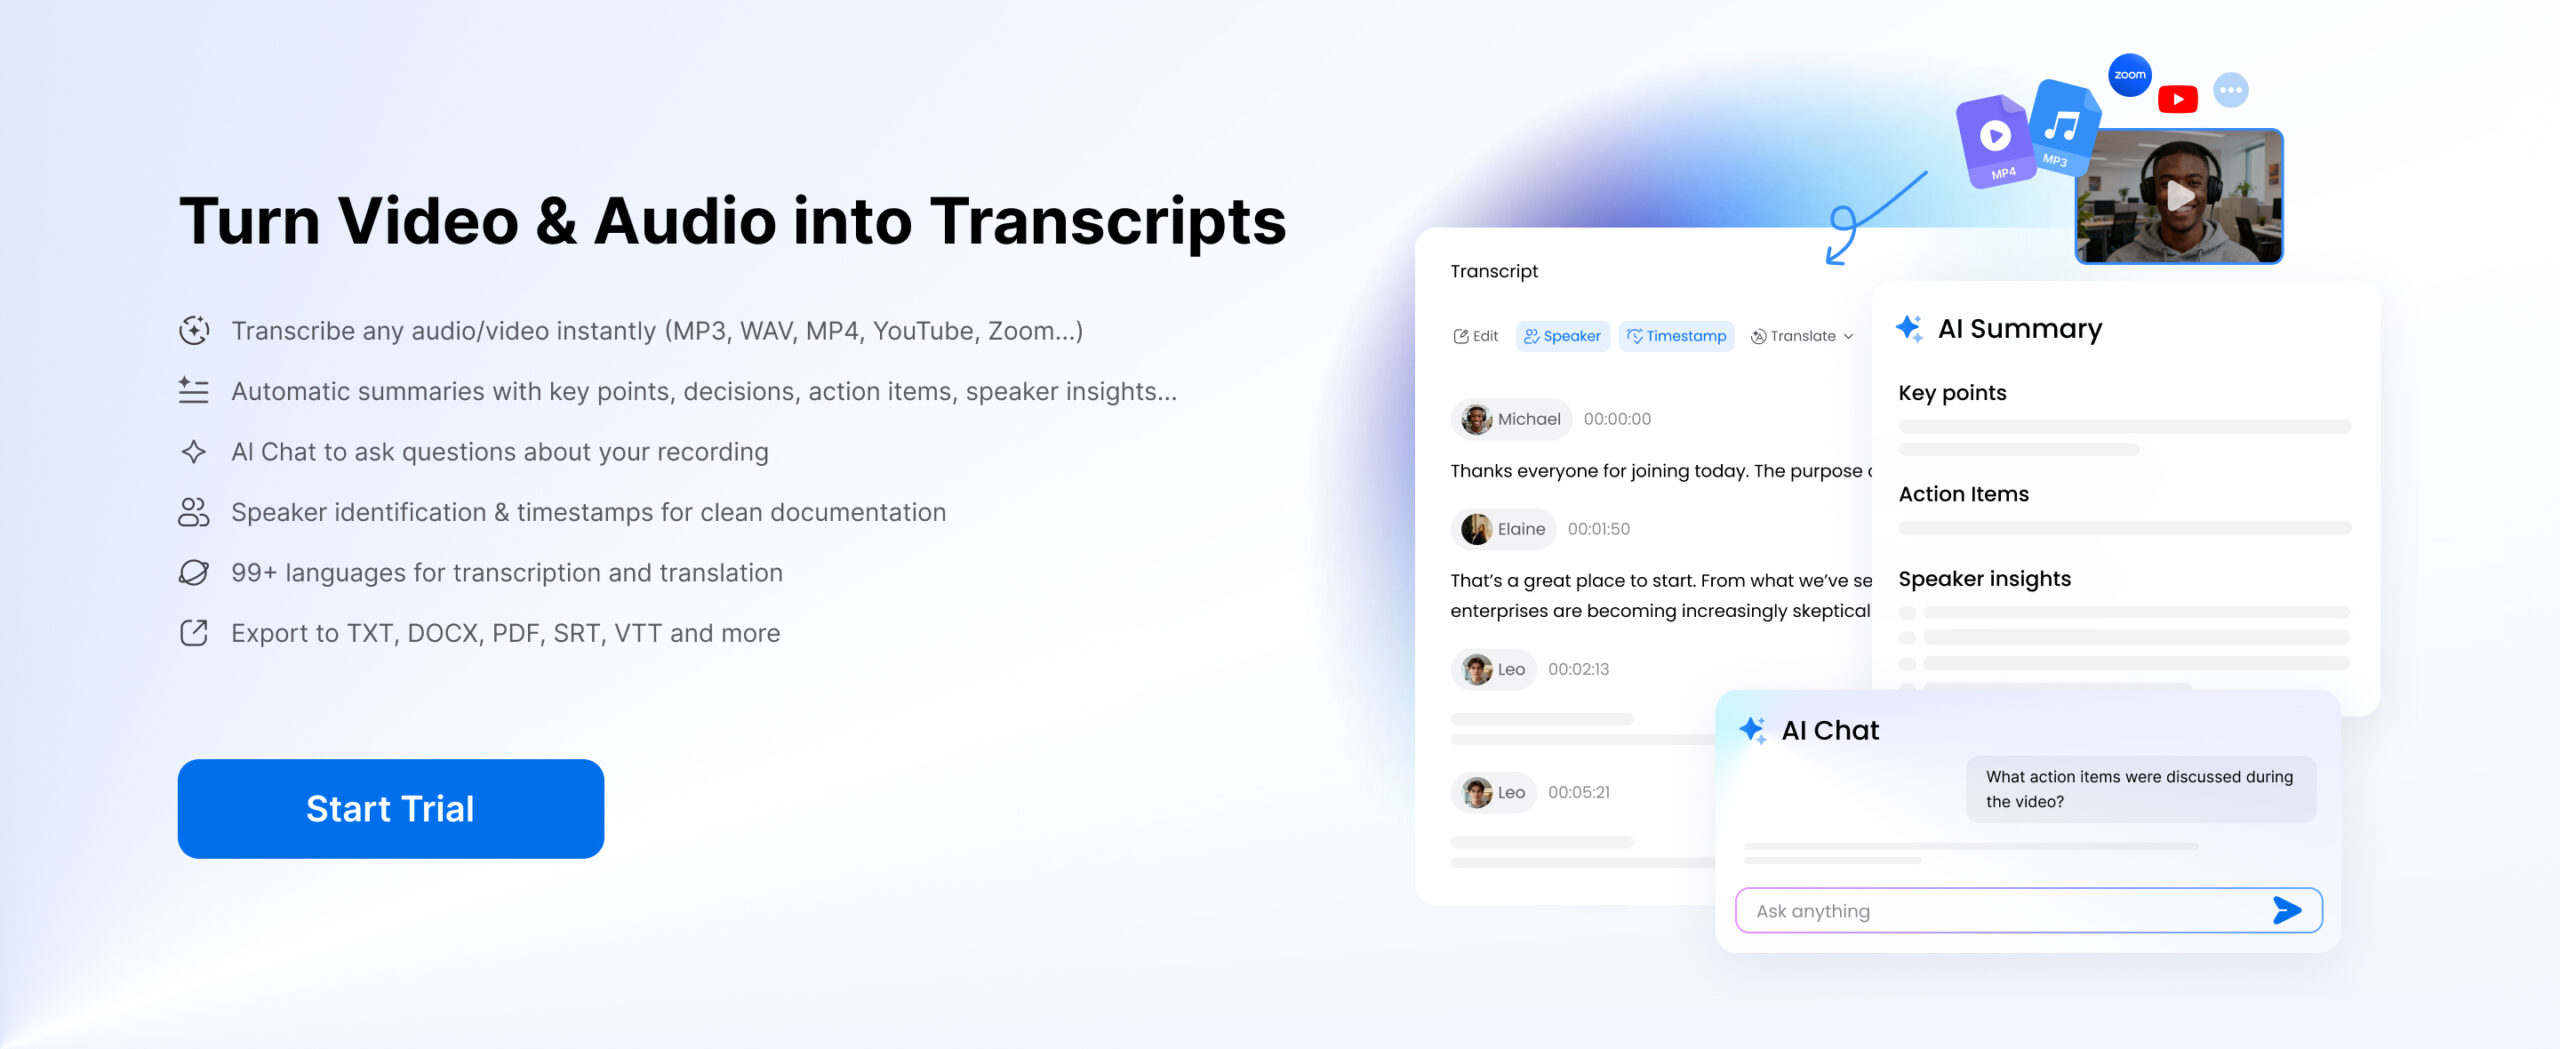
You open your notes after class and see a few keywords, but can’t recall how the professor connected them. Lecture transcription helps you fill those gaps without replaying the entire recording. A transcript turns live classes and saved audio or video lectures into searchable text. Here’s how to capture clear sound, transcribe what was said, and check the result before your next study session.
Part 1. What Is Lecture Transcription?
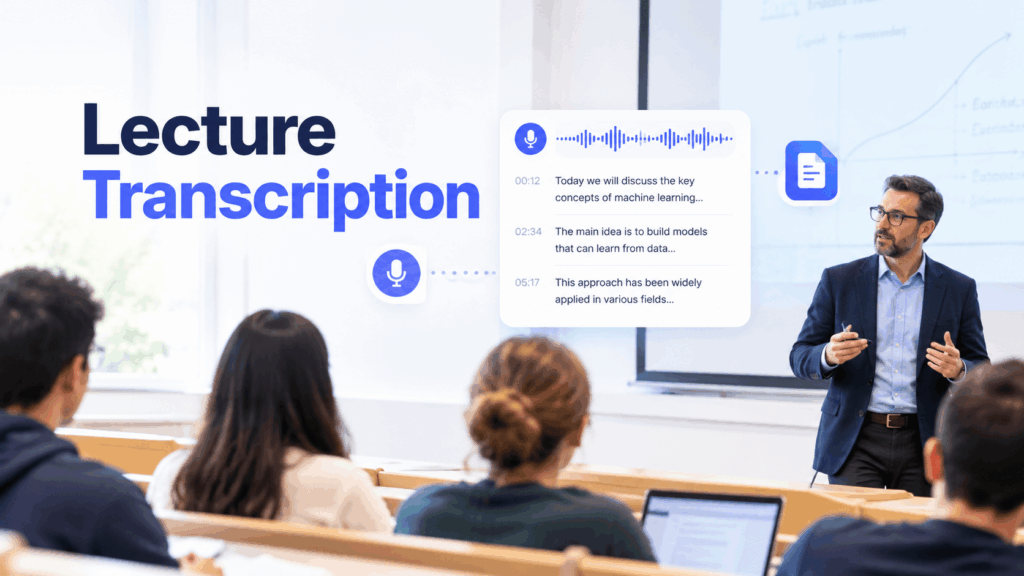
Lecture transcription involves turning spoken instruction into written text. The resulting document records what an instructor covers and may include questions from students. It can be created as a class takes place or from an existing audio or video recording.
Unlike a brief set of notes, this text follows the speech itself. Some transcripts also show timestamps or speaker labels, so you can see when something was said and by whom. The finished file is searchable, making it easier to locate a particular explanation after class.
Part 2. Why Transcribe Lectures?
A lecture moves on even when you’re still writing. Having the spoken material in text gives you another way to revisit it later.
Fill Gaps in Your Notes
Your professor might explain a difficult term, work through an example, and answer a question before you finish writing the first line. Even careful notes can end up with a missing step or a phrase you can’t make sense of later. A transcript lets you compare what was said with what you managed to write.
You don’t have to copy everything down while trying to follow the lesson. Mark the ideas you want to remember, then use the written record to complete a definition, restore the steps you missed, and confirm how the lecturer responded.
Find Key Points Without Replaying the Whole Lecture
Remember a term but can’t recall where your professor defined it? Replaying an hour of class to find a few sentences can eat into the time you set aside for revision. With a searchable transcript, you can enter a keyword and go straight to the relevant passage.
If timestamps are included, use them to locate the matching moment in the recording when you want to check the original wording. A worked example may make more sense with the surrounding explanation, too. You get the context you need without listening to every section again.
Follow the Material at Your Own Pace
Some lecturers move quickly from one point to the next. A written version lets you stop at a difficult passage, reread it, and continue when you’re ready. That extra time can help if you’re learning in a second language or checking unfamiliar terminology.
For students who are deaf or hard of hearing, a transcript can provide access to what was said after class. It doesn’t replace live captions when those are needed during the session. Having the spoken content in text also lets students return to an explanation at a pace they can manage.
Part 3. How to Transcribe Lectures to Text?
Use Clipto Web for live classes or recordings in your browser. If a lecture file is already on your Mac and you want local processing, choose the desktop app.
Method 1: Transcribe Lectures Online with Clipto Transcription Web
Step 1: Add the lecture files or Start to record lectures
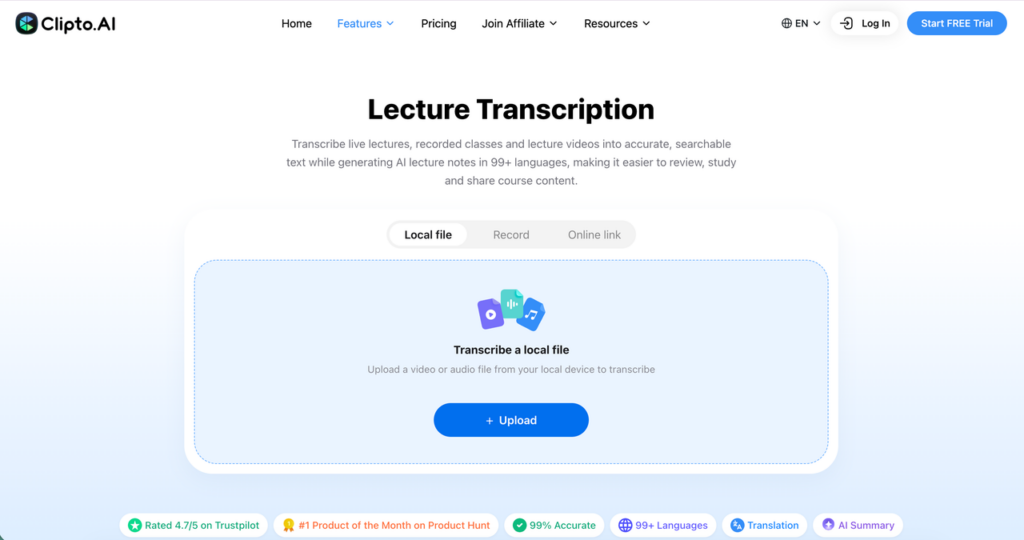
For lecture transcription online, open Clipto’s lecture transcription tool in your browser.
If the class is happening now, confirm you’re allowed to record, then choose Record and allow microphone access to start live lecture transcription.
For an existing lecture, select Local file to upload audio or video. If it’s available through a supported web address, choose Online link instead.
Step 2: Generate the lecture transcript
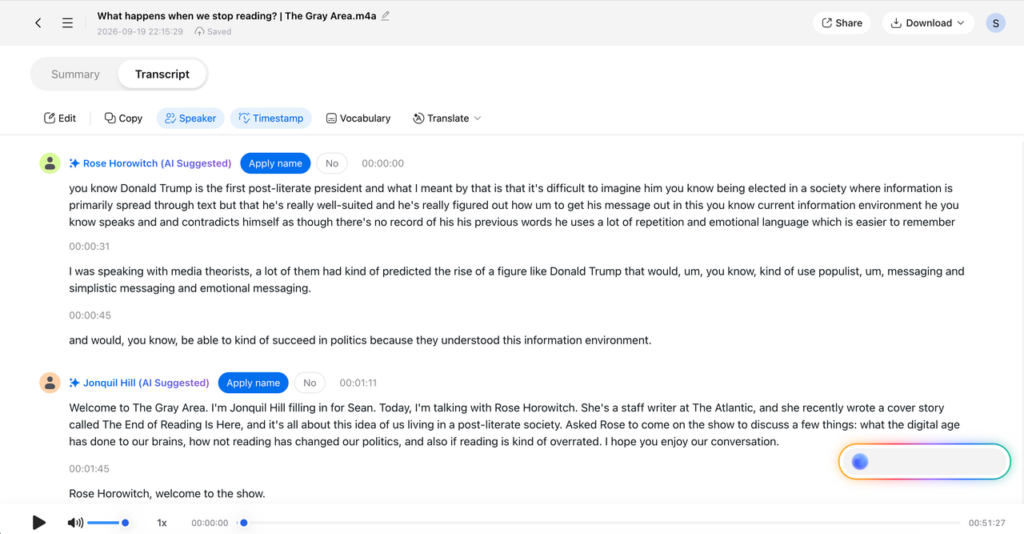
Start recording or submit your file. Live lecture transcription shows text as the class unfolds. For saved material, wait for processing to finish, then open the result. Timestamps show where each passage occurs. If the lecturer and students both speak, use speaker identification to make their contributions easier to follow.
Step 3: Save lecture transcripts for studying
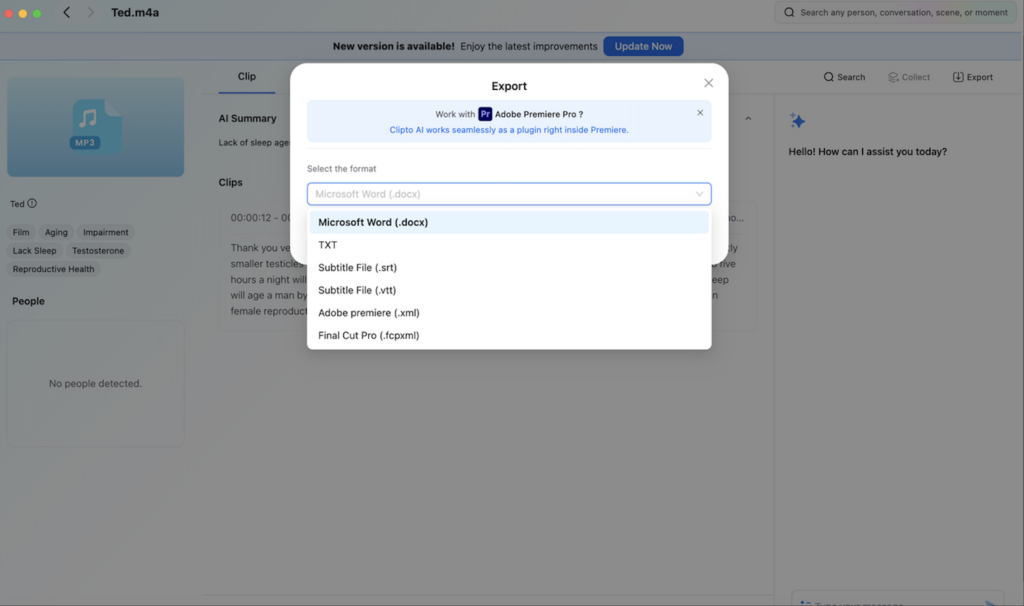
Once the wording looks right, use AI Summary to pull out the main topics. Keep the full transcript so you can check anything the summary leaves out. Export a TXT file for simple notes or a DOCX file if you want to add comments before an exam.
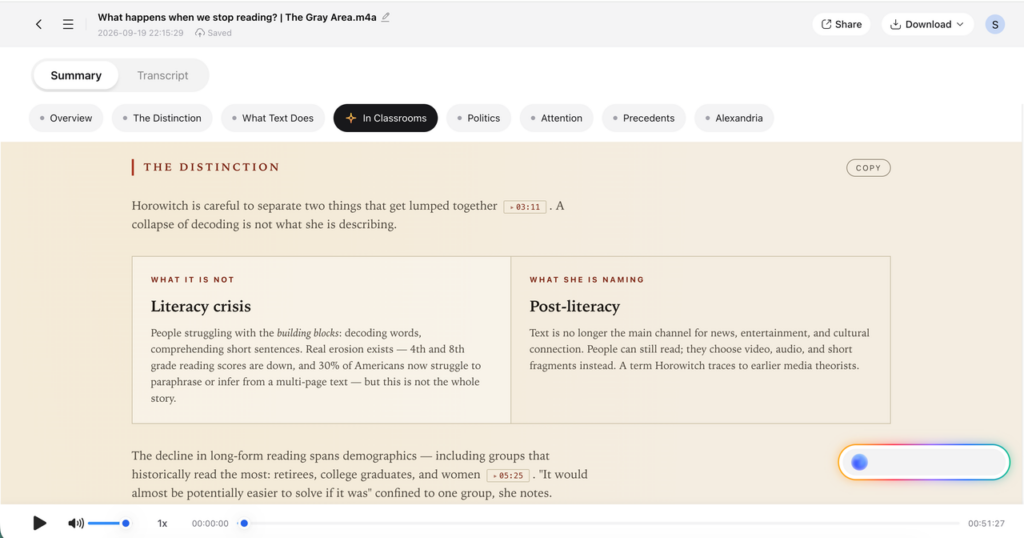
Method 2: Transcribe Lectures Locally with Clipto Transcription for Mac/Windows
Step 1: Import your lecture
Open Clipto transcription for PC and drag a saved audio recording or video into the app. This method suits course files you already keep on your computer or want to process there.
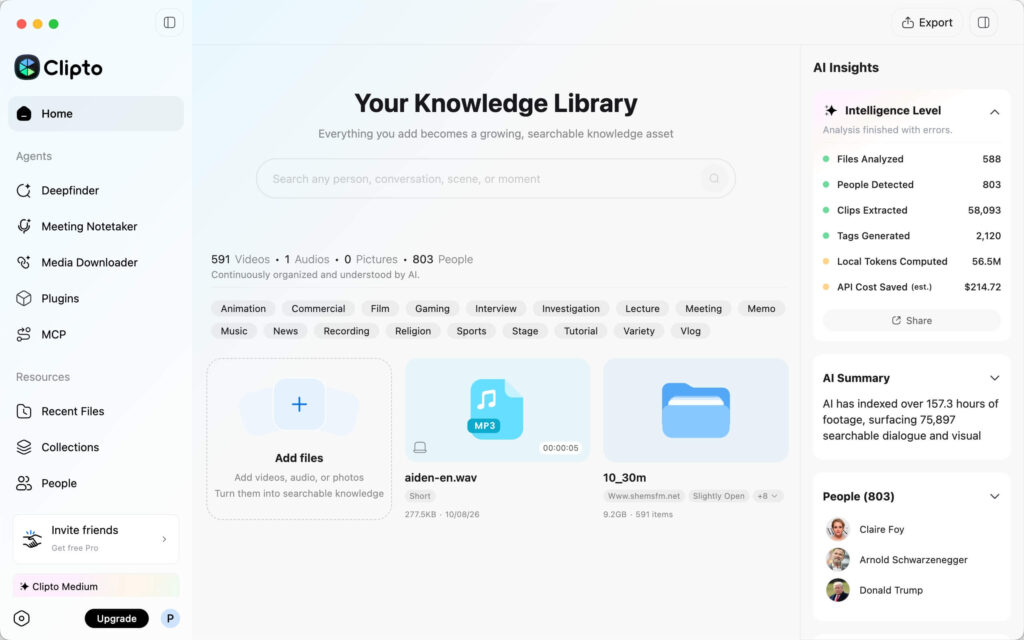
Step 2: Transcribe lecture audio to text
Clipto processes the file locally on your Mac or Windows. When it appears in your library, open the transcript and read along. Timestamps show where each passage occurs, while speaker labels help you separate the instructor’s explanation from student questions. The source file stays on your device during local transcription.
Step 3: Review the details of lecture transcript
Replay short sections when a course term, name, or number looks wrong. Jump to the relevant time, correct the text, and read the surrounding lines to make sure you’ve kept the meaning. If several people spoke during a discussion, check the labels before adding a quote to your notes.
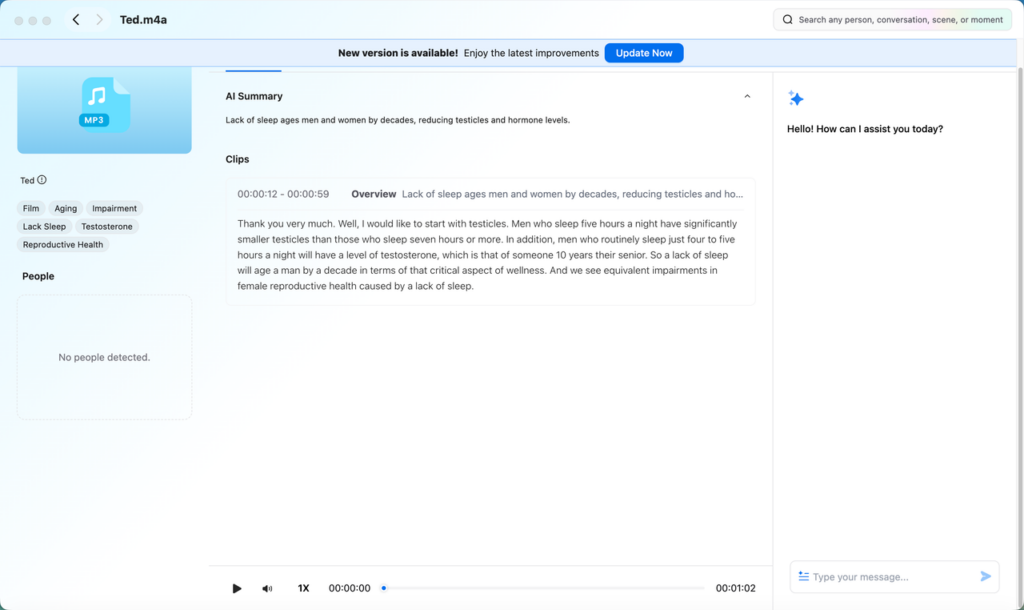
Step 4: Export your study copy
Use the summary or AI Chat to find the day’s key ideas, then compare any short answer with the original passage. Export the transcript as TXT for searching or DOCX for adding your own comments. Name the file with the course and date so you can find it when revision starts.
Conclusion
Lecture transcription puts the few keywords in your notes back in context. Keep the checked transcript with what you wrote during class, so you can return to the full explanation even weeks later. If a summary leaves you unsure about a detail, listen to that part again. When it’s time to study, you’ll have both the lecturer’s words and your own questions.
FAQs
Can ChatGPT transcribe lectures?
Yes. ChatGPT Record can transcribe a live lecture in the macOS app with a supported plan. For lecture transcription, Clipto also handles recordings you already have: it turns audio or video into searchable text, with timestamps and speaker labels to help you check details before exporting a study copy.
Are you allowed to record your lectures?
It depends on your school and course. Check the syllabus before recording, and ask your instructor if the rules aren’t clear. Permission to record for personal study doesn’t necessarily mean you can share the audio or transcript, especially when classmates’ voices are included.
How long does it take to transcribe a one-hour lecture?
There isn’t a fixed turnaround time. Clipto gives about five minutes as an example for one hour of audio, but that’s not a guarantee for every file. Upload time, your Mac’s processing speed, and a final check of course terms can all affect when the transcript is ready to use.