Taking notes during lectures is something many students struggle with. It can feel stressful and means they can’t fully engage with the class while trying to capture every important point. Recording the session helps, but watching it back still takes time, especially when they keep stopping and starting to find specific details.
Academic transcription turns spoken material into searchable text for later use. In this guide, we’ll outline its main benefits and walk through two ways to generate a transcript, online and on Mac.
Part 1. What Is Academic Transcription?
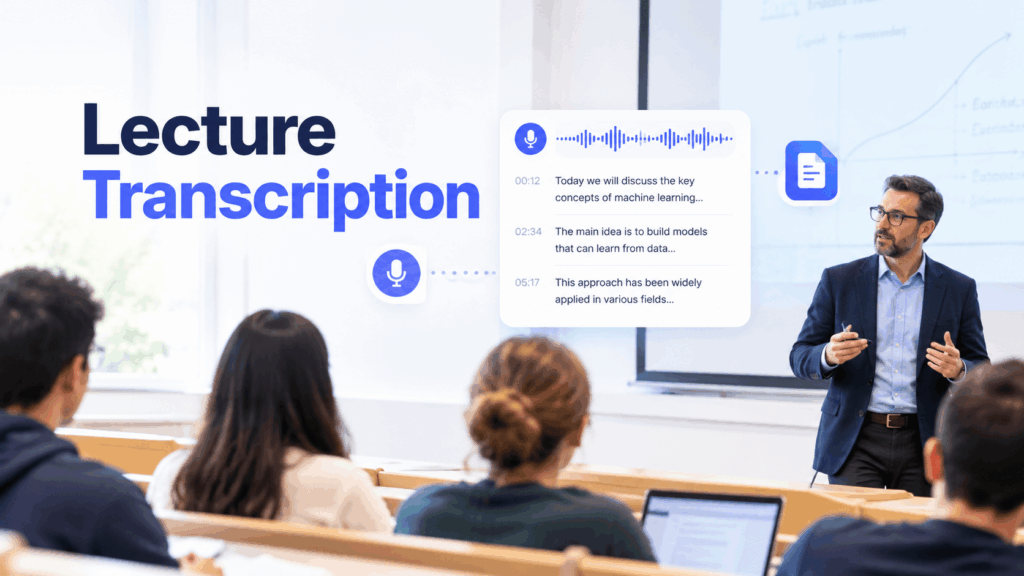
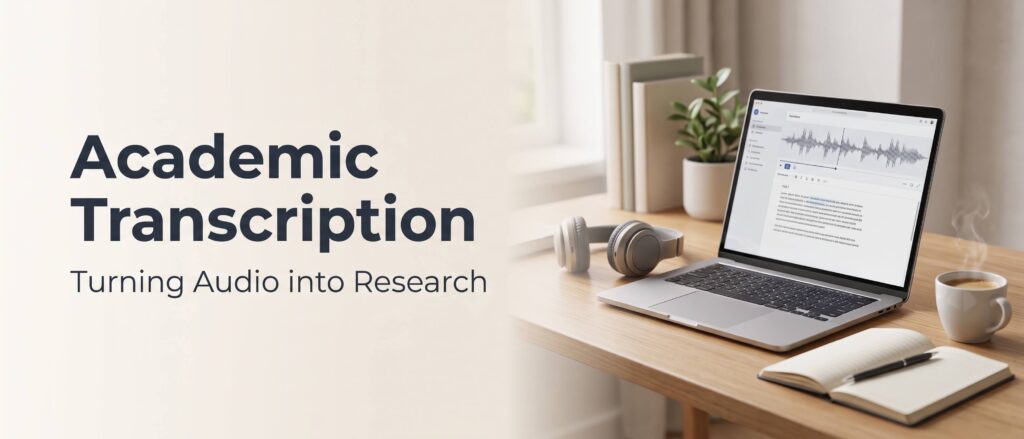
Academic transcription is the process of converting recorded speech from educational and research settings into written text. The recordings used for academic audio transcription may include university lectures, research interviews, focus group discussions, seminars, and workshops.
These transcripts provide a reliable written record that students can use to review course material and researchers can examine during qualitative analysis. Converting spoken material into a structured document also makes important information easier to organize, reference, and preserve.
Part 2. Benefits of Academic Transcription
Academic transcripts support learning, teaching, and research in several practical ways.
Stay Focused During Lectures
Students often take notes while a professor is speaking, but trying to capture every point can stop them from asking questions or joining the discussion. When a class recording is converted through lecture transcription, they know the material will be available afterward. This allows them to listen more closely, follow the explanation, and participate more actively.
Make Learning More Accessible
Academic transcripts are an effective way to make course content more accessible. Students who are deaf or hard of hearing can read what was said instead of relying only on audio. Those studying in a second language may also find written material easier to follow because the format lets them move at their own pace and revisit difficult passages when needed.
Find Key Information Faster
Audio and video files aren’t searchable, so locating one term in a long recording often means moving back and forth until you hear it again. A written transcript lets you search for a concept, name, or technical phrase and go straight to the relevant passage. From there, useful points can be pulled out and arranged into clear revision notes.
Analyze Research Interviews More Easily
If interviews or focus groups form part of an academic study, interview transcription converts each session into a document that is easier to examine. Researchers can compare participants’ answers, mark recurring ideas, and identify patterns across the data. Accurate wording and speaker context also provide a dependable record when findings rely on what each person said.
Reuse Recordings for Teaching
Teachers can record their lectures and turn the audio into text when planning future classes. Reading what was actually said makes it easier to check whether every topic was covered, remove repeated explanations, and reuse strong sections as study material. Saving spoken feedback in the same way creates documentation for later grading, progress reviews, or written reports.
Part 3. How to Transcribe Academic Online
Clipto Transcription Online gives you a simple way to turn lectures, seminars, and research interviews into clean, usable text directly in your browser. You don’t need to download an app.
Step 1: Upload Your Academic Recording
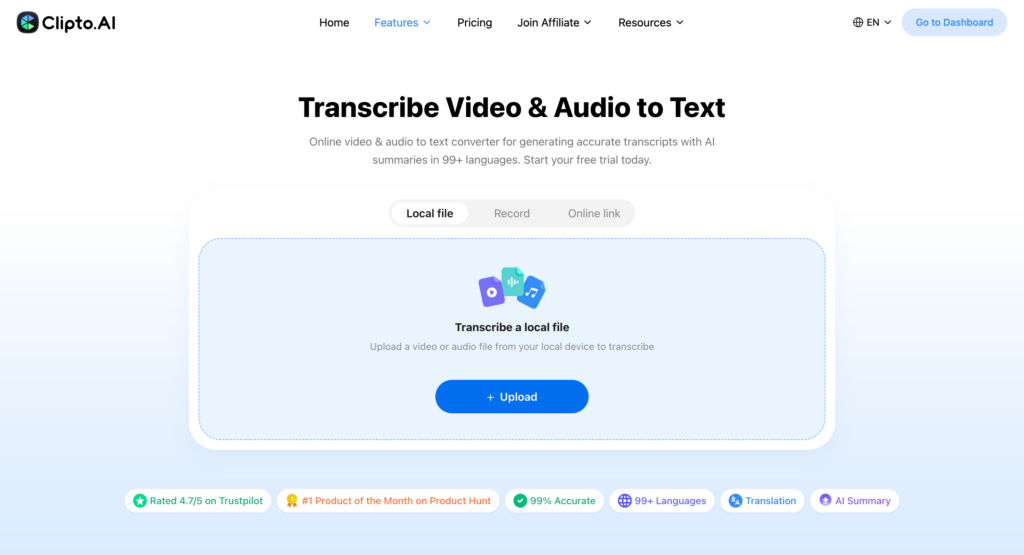
Open Clipto audio & video to text converter and upload an audio or video recording from your device. If the material is already online, paste its link into the input box instead. Common formats such as MP3, M4A, WAV, and MP4 are supported, so you can use the source you already have.
If you need live transcription or want to record audio, select the Record feature.
Step 2: Generate the Academic Transcript
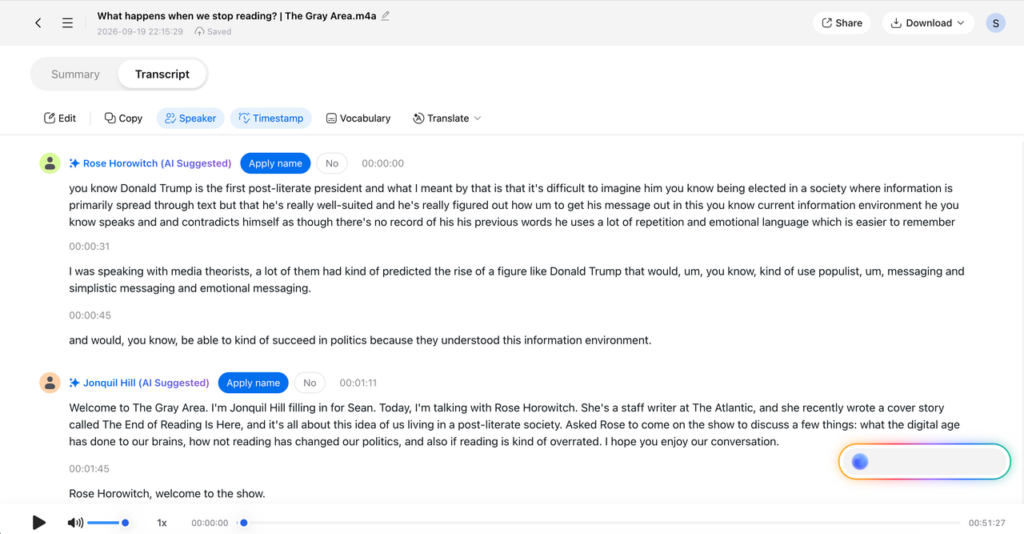
Once the upload is complete, start the transcription. Clipto academic transcript generator processes the recording and converts its speech into written text. When the result is ready, open it in the editor and move on to review.
Read through each section and correct names, numbers, academic terms, punctuation, or unclear wording. For a research interview or focus group, check the speaker labels so every comment is assigned correctly. Use timestamps to return to the exact moment in the original audio whenever a passage needs verification.
Step 3: Summarize and Export Your Academic Transcript
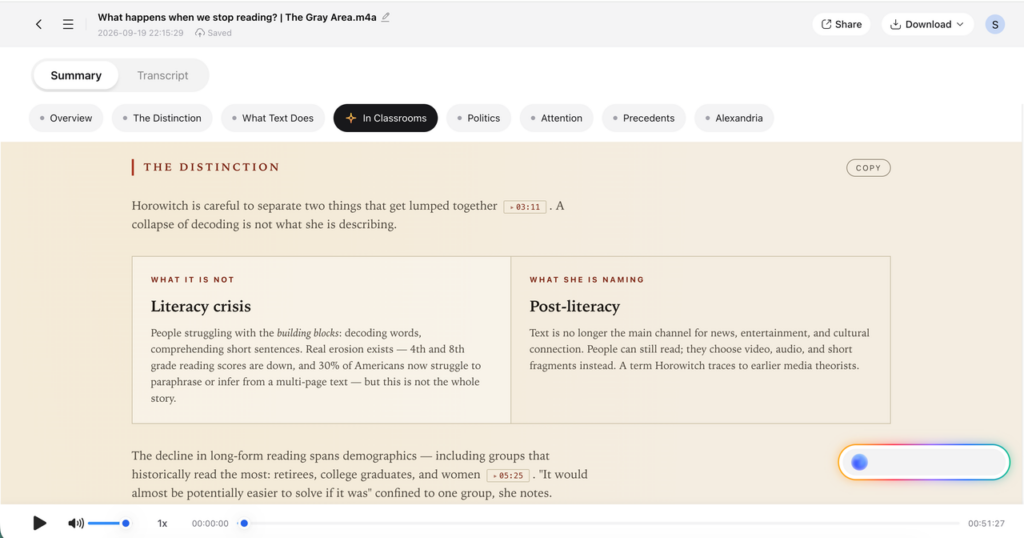
Quickly summarize lectures, seminars, and research discussions to capture key ideas, important findings, and actionable insights without reading the full transcript.
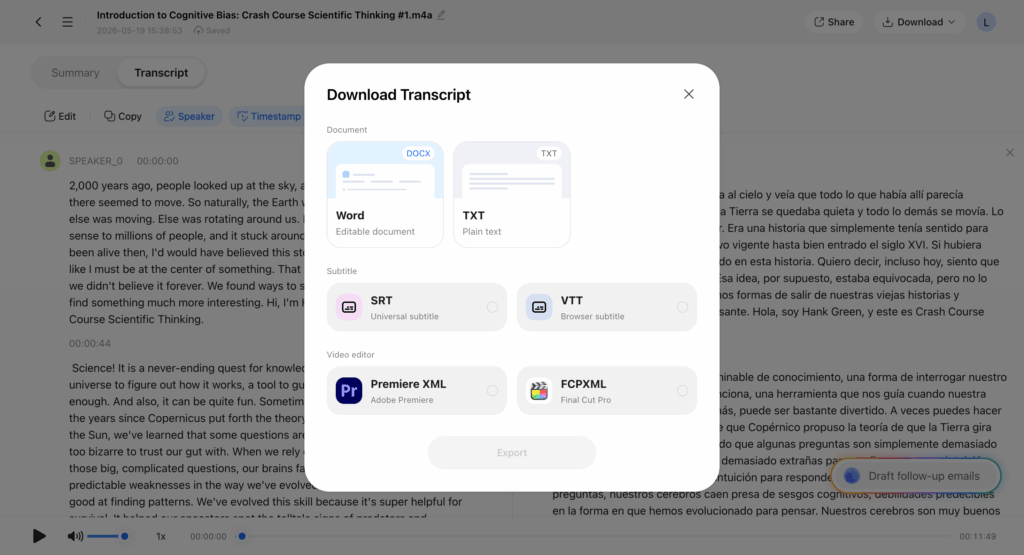
Download the finished transcript in the format that suits its next use. Choose DOCX for further editing, TXT for plain notes, or SRT and VTT when a recorded class needs captions.
Part 4. How to Transcribe Academic Locally
Clipto transcription tool for Mac or Windows works well for students and researchers who handle local recordings or maintain an ongoing collection of lectures, interviews, and course materials. Because the audio stays on the computer during local transcription, it also suits academic work that calls for greater privacy.
Step 1: Install Clipto Academic Transcription Tool on Your PC
Download Clipto Academic Transcription Tool from the official website and install the application. Open it after setup so you can begin working with media already stored on your device.
Step 2: Import Your Academic Recording
Add an academic audio or video file to your library. You can drag the source into academic transcription tool, select it from a folder, or paste a link when the material is available online.
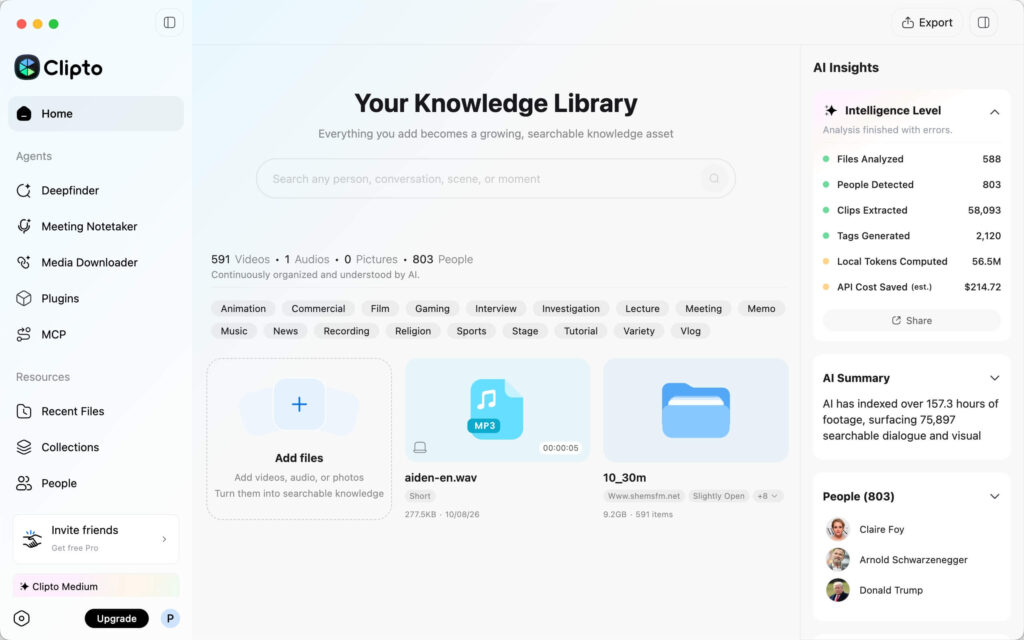
Step 3: Generate and Review the Academic Transcript
Let Clipto academic transcript generator process the recording. When the status shows that it’s ready, open the item to view and edit the transcript.
Use timestamps to return to a particular moment, and check speaker labels when several people take part in an interview or focus group.
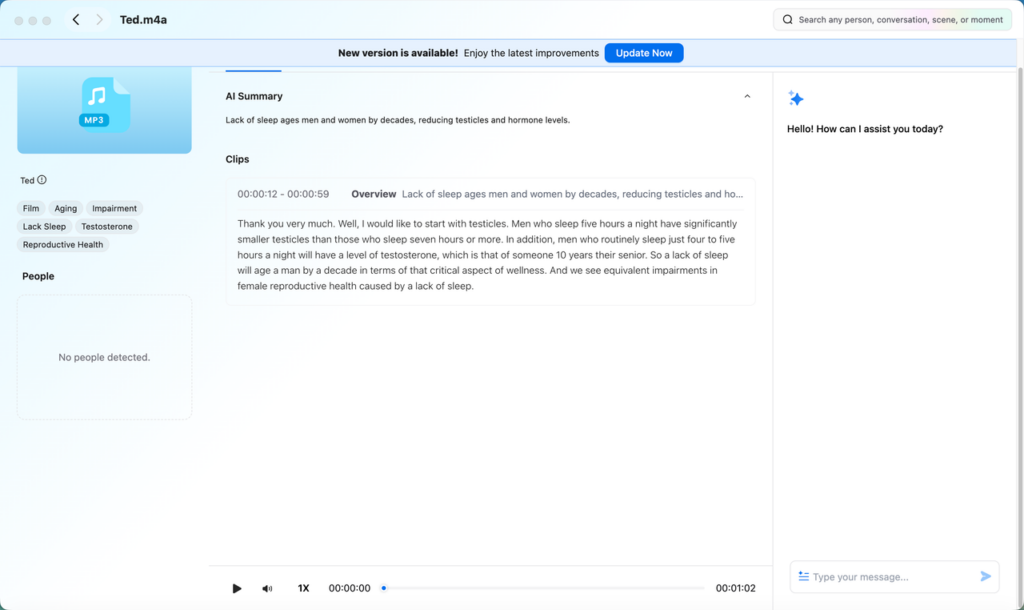
Step 4: Export the Academic Transcript
Export the finished document in the format that matches your next task. Choose DOCX or TXT for notes and research records, or SRT and VTT when you need captions for a recorded class.
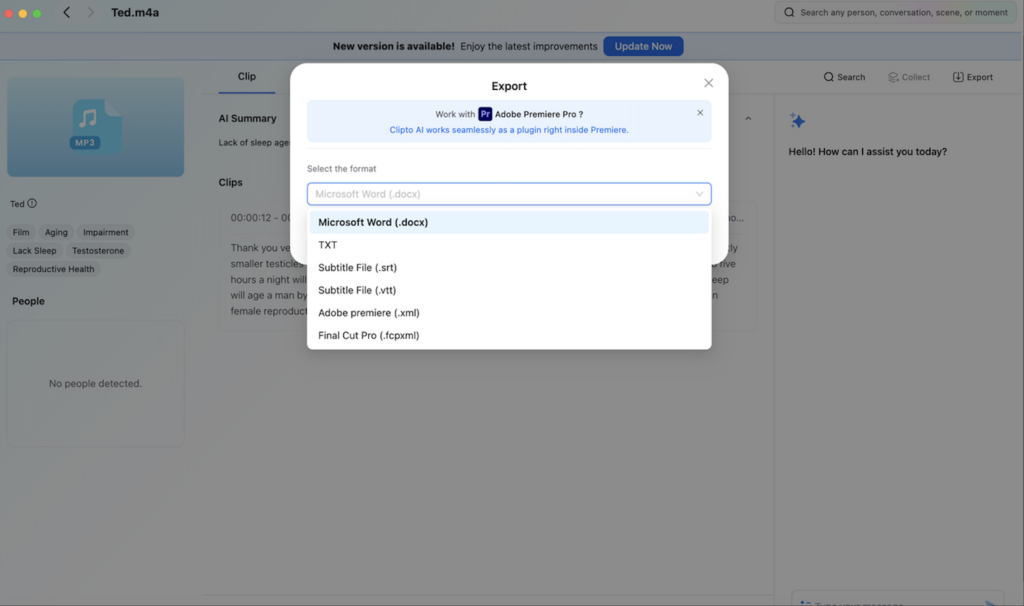
Before using the final text, compare it with the original audio and check specialist terminology, names, numbers, and speaker attribution. Give extra attention to passages that will appear as quotations in a paper or support later research analysis.
Conclusion
Academic transcripts offer a wide range of benefits for students, teachers, and researchers, helping make classes more effective, reduce students’ workload, and speed up course preparation and qualitative analysis. Add your next lecture, seminar, or interview to Clipto to create a clear, searchable record.
FAQs
How Much Does Academic Transcription Cost?
Clipto’s price depends on the billing option you choose. The annual plan costs $8.99 per month, billed as $107.88 per year. Monthly billing is $9.99 for the first month and $24.99 each month afterward. You can start a seven-day free trial and cancel anytime.
Can ChatGPT Transcribe Academic Audio?
Yes. ChatGPT can transcribe and summarize academic recordings through Record mode, but it’s currently available only in the macOS desktop app for eligible plans. It can distinguish between speakers, though the text may contain errors and works best in English. For existing lecture or interview files that need timestamps and flexible exports, a dedicated transcription tool provides a more direct workflow.
How Long Does Academic Transcription Take?
Manual transcription can take four to six hours for each hour of academic audio. Clipto can generate a transcript from a one-hour lecture or research interview in about five minutes, so longer recordings don’t require hours of typing. The total time still depends on the file length and how much material you’re processing.